Many home cooks shy away from stainless steel pans, frustrated by food sticking and uneven results. Yet, with a simple technique known as the “water test,” you can transform your stainless steel cookware into a remarkably non-stick surface, achieving restaurant-quality sears and perfectly cooked meals every time. This guide will demystify the art of preheating, explaining the science behind it and providing a clear, step-by-step method to unlock your pan’s full potential.
Why Proper Preheating Matters for Stainless Steel
The key to successful stainless steel cooking lies in temperature control. Preheating your pan correctly before adding oil and food offers several significant advantages:
Prevents Food from Sticking
Table is empty.Unlike non-stick pans with chemical coatings, stainless steel has microscopic pores on its surface. When the pan is cold or not adequately heated, food particles can get trapped in these pores, causing them to bond with the metal and stick stubbornly. As the pan heats, the metal expands, effectively closing these tiny fissures and creating a much smoother surface. This expansion forms a temporary non-stick layer, allowing food to release naturally and effortlessly from the pan.
Achieves Perfect Searing and Browning
Proper preheating ensures the entire cooking surface reaches a consistent, optimal temperature. This uniform heat is crucial for achieving the “Maillard reaction”—the chemical process responsible for the desirable golden-brown crust and complex flavors when searing meats, fish, or vegetables. Without sufficient preheating, you’ll end up with steamed rather than seared food, lacking that delicious crispy exterior.
Ensures Even Cooking
Hotspots are a common issue in poorly preheated pans, leading to some parts of your food burning while others remain undercooked. By preheating slowly and thoroughly, the heat distributes smoothly across the pan’s surface, eliminating these hotspots. This results in food that cooks evenly from edge to edge, ensuring consistent doneness and superior taste.
Protects Your Pan
Controlled preheating also extends the lifespan of your stainless steel cookware. Rapid, uneven heating or excessive temperatures can lead to warping, discoloration, and other forms of heat damage over time. By following proper preheating techniques, you safeguard your investment, keeping your pans performing like new for years to come.
Understanding the Science: The Leidenfrost Effect
The “water test” is not magic; it’s a demonstration of a fascinating scientific principle known as the Leidenfrost effect. This phenomenon occurs when a liquid comes into contact with a surface that is significantly hotter than its boiling point.
When you add a droplet of water to a pan that has reached the correct temperature (typically around 379°F to 400°F or 193°C to 200°C), the bottom layer of the water instantly vaporizes. This creates a thin, insulating cushion of steam between the water droplet and the hot metal surface. Because the droplet is insulated by this vapor layer, it doesn’t boil away immediately. Instead, it forms a small, spherical bead that appears to “dance,” “glide,” or “skate” effortlessly across the pan, much like an air hockey puck.
This “mercury-ball” effect indicates that your pan has reached the ideal temperature for cooking, signifying that the surface is ready to prevent sticking and ensure optimal cooking performance.
Step-by-Step Guide: Performing the Water Test
Mastering the water test is a game-changer for stainless steel cooking. Here’s how to do it correctly:
-
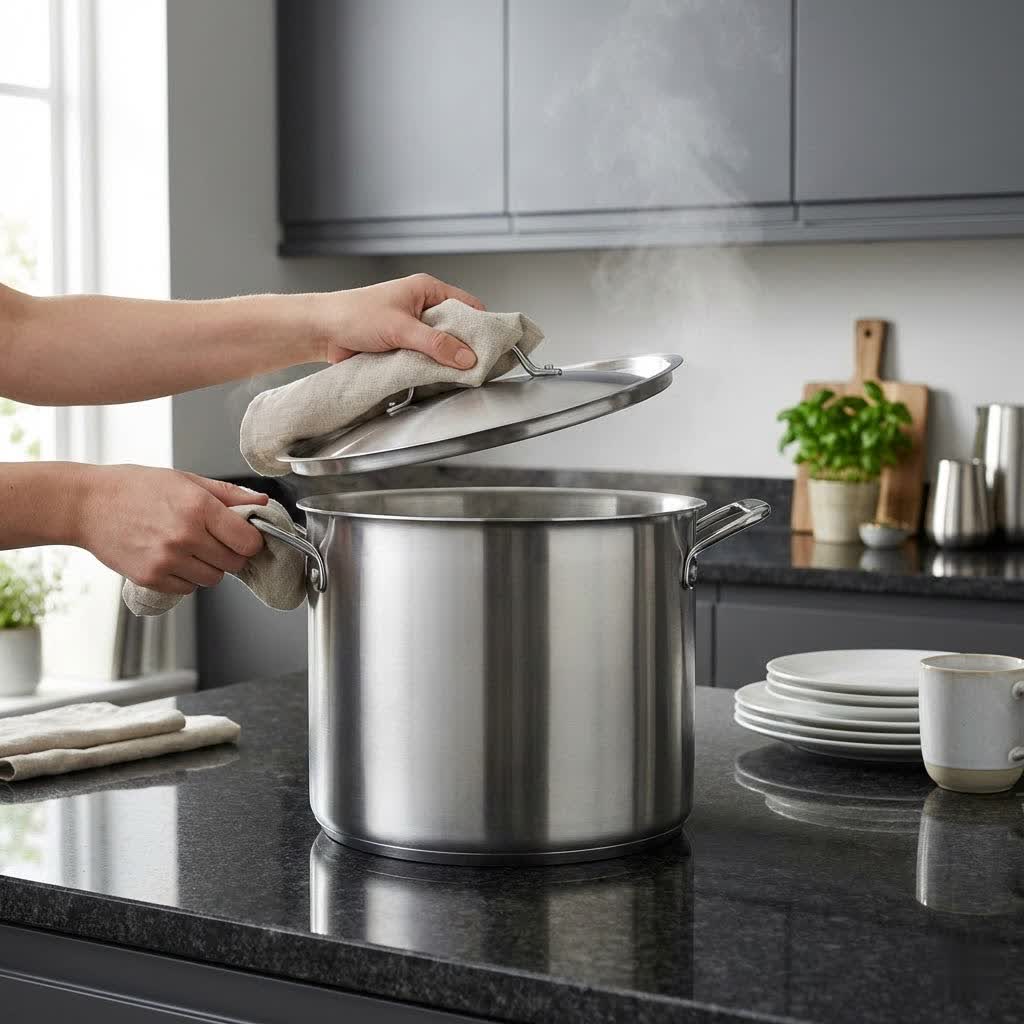
Start with a Clean, Dry Pan: Place your empty, dry stainless steel pan on a burner. Ensure both the pan and stove surface are clean to prevent any residue from smoking or affecting flavor during heating.
-
Choose the Right Heat Level: Turn your burner to medium-high heat. While some sources suggest medium heat for a slower preheat, medium-high is often efficient for reaching the Leidenfrost point for most cooking tasks.
-
Allow the Pan to Heat Gradually: Let the pan heat for approximately 1-2 minutes. You can test the ambient heat by carefully holding your hand a few inches above the pan (without touching it) to feel the radiant warmth.
-
Perform the First Water Test: Flick about half a teaspoon of water into the pan. Observe what happens.
- If the water immediately sizzles and evaporates: The pan is not hot enough. Wipe the pan clean with a cloth (be careful, it’s hot!), wait another 10-30 seconds, and repeat the test.
- If the water forms multiple small beads that quickly scatter and evaporate: The pan is getting close but still isn’t quite at the optimal temperature. Continue heating and re-test.
- If the water forms one or a few distinct, spherical beads that glide and “dance” across the pan’s surface: Congratulations! Your pan has reached the perfect temperature—the Leidenfrost effect is in full swing.
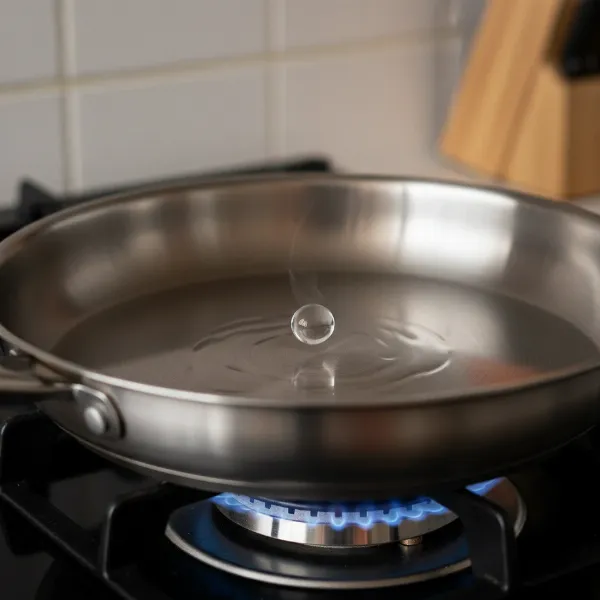 A stainless steel pan on a stove with a single, perfectly dancing water bead illustrating the Leidenfrost effect for non-stick cooking.
 -
Adjust Heat and Add Oil: Once the water test is successful, immediately reduce the heat to medium or medium-low. This prevents the pan from overheating and burning your oil. Then, add your cooking oil.
-
Wait for the Oil to Heat: Allow the oil to heat for a few seconds until it shimmers slightly or just begins to smoke faintly (depending on the oil’s smoke point). This indicates the oil is ready to cook with. Now, you can add your food.
Common Mistakes to Avoid
Even with the water test, certain habits can lead to sticking or damage. Avoid these common pitfalls:
- Not Preheating Enough: The most frequent mistake. If the pan isn’t hot enough, the metal pores won’t close, and food will inevitably stick. Always wait for that perfect water bead.
- Overheating the Pan: While the Leidenfrost effect requires high heat, extreme overheating can scorch your oil, create unpleasant smoke, and potentially warp your pan over time. Reduce the heat immediately after a successful water test.
- Adding Cold Ingredients: Dropping cold food directly from the refrigerator or freezer into a hot pan can drastically lower the pan’s surface temperature. This can disrupt the non-stick effect, causing food to stick, and may even lead to thermal shock, which can damage your pan. Always allow ingredients to come to room temperature before cooking whenever possible.
- Adding Oil Too Soon: Pouring oil into a cold pan means the oil will heat up with the pan. This can lead to the oil reaching its smoke point too quickly or degrading before your food is added. Preheating the pan then adding oil ensures the oil heats efficiently and performs its best.
Beyond the Water Test: Tips for Stainless Steel Success
While the water test is fundamental, these additional tips will elevate your stainless steel cooking:
- Choose the Right Oil: Use oils with a high smoke point for searing, such as avocado oil, grapeseed oil, or refined sunflower oil. For lower-temperature cooking, olive oil or butter can be used after the pan has been properly preheated and the heat reduced.
- Don’t Overcrowd the Pan: Overfilling your pan lowers the temperature and causes food to steam rather than sear, increasing the likelihood of sticking. Cook in batches if necessary.
- Let Food Cook Uninterrupted: Resist the urge to constantly move food around. Allow meats and vegetables to develop a crust. They will naturally release from the pan when they are ready to be flipped.
- Clean and Maintain Your Pan: After each use, clean your stainless steel pan thoroughly to remove any stuck-on bits. Regular cleaning helps maintain the pan’s surface and prevents future sticking issues.
Conclusion
Mastering how to preheat stainless steel correctly using the water test is a fundamental skill that unlocks a world of culinary possibilities. By understanding the science behind the Leidenfrost effect and practicing this simple technique, you can confidently achieve perfectly seared dishes, prevent food from sticking, and ensure your stainless steel cookware serves you beautifully for years. Embrace the power of proper preheating, and transform your cooking experience from frustrating to fantastic. What delicious dish will you create with your perfectly preheated stainless steel pan next?
Frequently Asked Questions
What temperature is ideal for the Leidenfrost effect to occur?
The Leidenfrost effect, which indicates a perfectly preheated stainless steel pan, typically occurs when the pan’s surface reaches a temperature between approximately 379°F (193°C) and 400°F (200°C). At this range, water droplets form insulating vapor layers, causing them to bead and glide across the surface instead of evaporating immediately.
Can I use the water test for all types of cooking?
While highly effective for achieving a non-stick surface, the water test indicates a pan temperature ideal for searing, frying, and other high-heat cooking. For delicate items like eggs that require lower temperatures, some chefs recommend slightly different preheating methods or careful temperature reduction after a successful water test to avoid overcooking.
What happens if I don’t preheat my stainless steel pan?
If you don’t preheat your stainless steel pan adequately, food is very likely to stick. The microscopic pores on the pan’s surface remain open, allowing food particles to bond directly with the metal. This leads to frustrating sticking, uneven cooking, and difficulty cleaning.
How long does it take to preheat a stainless steel pan?
The preheating time for a stainless steel pan can vary depending on its size, thickness, and your stove’s power. Generally, on medium to medium-high heat, it takes about 1 to 5 minutes to reach the optimal temperature for the water test. Always perform the water test to confirm readiness rather than relying solely on time.
What kind of oil should I use after preheating?
After a successful water test, and once you’ve reduced the heat, use an oil with a high smoke point for searing or frying, such as avocado oil, grapeseed oil, or refined canola oil. For dishes requiring lower heat, like sautéing vegetables, you can use olive oil or butter, ensuring they don’t burn by keeping the heat adjusted.