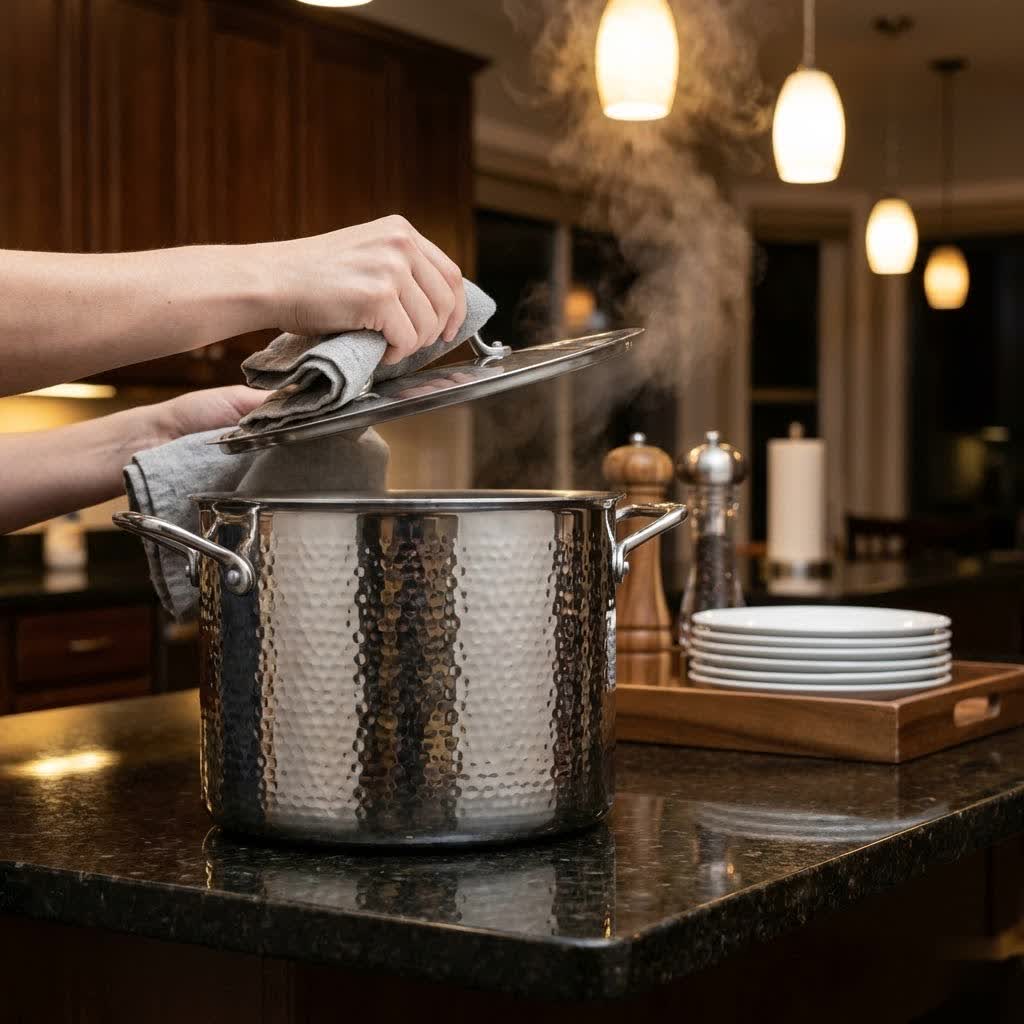
The unsung heroes of your kitchen, stainless steel pots and pans, endure daily battles against grease, food particles, and mineral deposits. While the cooking surfaces often receive diligent care, a common neglected area is the space between pot handle rivets. This tiny crevice can become a stubborn reservoir of grime, not only diminishing your cookware’s shine but potentially harboring bacteria. Understanding how to tackle this often-overlooked challenge is key to maintaining a truly pristine and hygienic kitchen.
Why Rivets Get So Dirty
Pot handle rivets are the small, metal fasteners that secure the handle to the main body of your cookware. While essential for structural integrity, their design creates tight spaces where food residue, grease splatter, and even hard water minerals can accumulate and bake on over time. Each cooking session adds a new layer, and conventional washing methods often fail to reach these constricted areas, leading to unsightly dark buildup that is notoriously difficult to remove. This grime isn’t just an aesthetic issue; it can trap moisture, potentially leading to corrosion on certain metal types and serving as a breeding ground for germs if left unaddressed.
Essential Tools for the Job
Tackling the grime between pot handle rivets requires a combination of patience and the right tools. Standard dishwashing sponges or cloths simply can’t reach into these tight spaces, necessitating specialized implements to dislodge stubborn buildup effectively.
Small Wire Brushes
- Stainless Steel or Brass Brushes: These miniature brushes, often found in sets for cleaning small parts or grills, are incredibly effective. The stiff bristles can get into the tightest spots around and under the rivet head, scrubbing away baked-on grease and food. For stainless steel pots, a stainless steel brush is ideal. For softer metals or if you’re concerned about scratching, a brass wire brush offers a slightly gentler abrasive action.
- Nylon Detail Brushes: Less aggressive than wire brushes, nylon detail brushes (like those used for cleaning grout lines or even old toothbrushes) are excellent for initial loosening of softer grime or for regular maintenance. They are less likely to scratch but require more elbow grease for tougher deposits.
Toothpicks and Detail Picks
For truly caked-on residue that even brushes can’t dislodge, manual picking is often necessary.
- Wooden or Bamboo Toothpicks: These are surprisingly effective. Their soft material prevents scratching your pot, and their pointed tips can chip away at hardened grime. Some users even recommend cutting the tip to create a flat edge, enhancing their scraping ability.
- Plastic Scrapers/Picks: Similar to toothpicks but often more durable, plastic picks designed for cleaning small crevices can be very useful. Avoid metal picks, as these can easily scratch the pot’s surface.
Other Tools (Use with Caution)
- Dremel Tool with a Small Brush Attachment: For extreme, long-neglected buildup, a Dremel tool with a tiny wire brush or abrasive attachment can provide powerful, precise cleaning. However, this method requires extreme care and a steady hand to avoid damaging the pot’s finish or the rivet itself. It’s generally reserved for professional restoration or when other methods have failed completely.
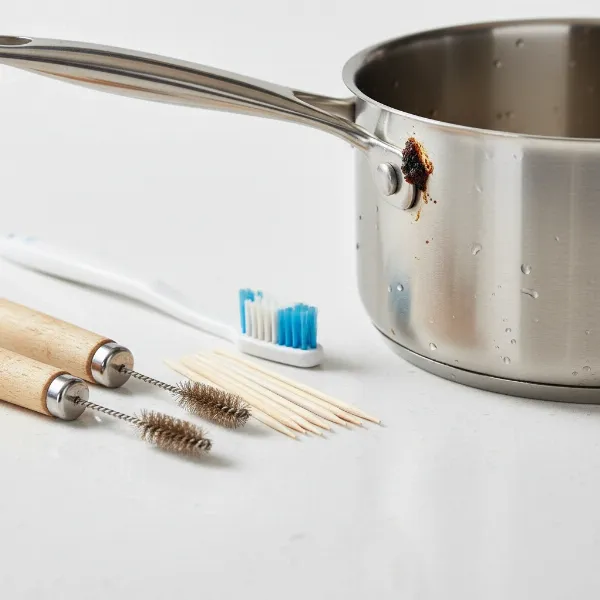 A collection of small cleaning tools like wire brushes, toothpicks, and detail brushes laid out on a clean kitchen counter next to a stainless steel pot with dirty rivets.
Effective Cleaning Solutions
Choosing the right cleaning solution is just as important as having the right tools. Different levels of grime require varying degrees of cleaning power, from everyday dish soap to more potent specialized cleaners.
Everyday Cleaning
- Hot, Soapy Water and Dish Soap: For fresh or light grime, a simple soak in hot, soapy water is often the first and most effective step. The hot water helps to soften grease, while the soap breaks down food particles. This method is best for routine cleaning and preventing significant buildup.
- Baking Soda Paste: A mild abrasive, baking soda mixed with a little water to form a paste can be applied directly to the dirty rivets. Let it sit for 10-15 minutes, then scrub. The gentle abrasive action, combined with its deodorizing properties, makes it a safe and effective choice for many types of pots.
Tough Stains
- Bar Keepers Friend (BKF): This popular cleaner is a lifesaver for stainless steel cookware. Its oxalic acid content works wonders on rust, tarnish, and tough baked-on food. Apply a small amount of BKF (powder or liquid) to a damp brush or cloth and scrub the rivet area. Rinse thoroughly afterwards to prevent residue buildup. Many experienced users highly recommend BKF for this task.
- White Vinegar: For mineral deposits and some grease, white vinegar can be an effective natural degreaser and descaler. Soak the rivet area in vinegar or apply a vinegar-soaked cloth for a few minutes before scrubbing. Its acidic nature helps break down stubborn residues.
Extreme Buildup (Use with Extreme Caution)
- Oven Cleaner (e.g., Easy-Off): Some users have reported success with oven cleaner for severely carbonized rivets. However, this is a very strong chemical and should be used with extreme caution. Ensure good ventilation, wear gloves, and test on an inconspicuous area first. Oven cleaner can damage certain pot materials, coatings, or finishes if not used properly or left on too long. Always rinse thoroughly multiple times.
- Caustic Acid/Lye: As mentioned in some professional contexts (like re-tinning copper cookware), highly caustic solutions can strip away even the most tenacious grime. This is absolutely not recommended for home use due to severe safety risks, including chemical burns and damage to cookware. Leave such powerful chemicals to professionals.
Step-by-Step Cleaning Guide
Effectively cleaning between pot handle rivets requires a methodical approach. Follow these steps for the best results, ensuring safety and thoroughness.
1. Preparation and Soaking
Begin by removing as much loose debris as possible. Then, submerge the pot, particularly the handle and rivet area, in a sink filled with very hot, soapy water. Let it soak for at least 30 minutes, or even a few hours for particularly stubborn grime. This initial soak is crucial as it softens baked-on food and grease, making subsequent scrubbing much easier. For heavily soiled rivets, you might add a few tablespoons of baking soda to the soaking water to boost its cleaning power.
2. Initial Scrub and Application of Cleaning Agent
After soaking, use a regular dish brush or sponge to remove any loosened surface grime. Next, choose your preferred cleaning agent (e.g., Bar Keepers Friend paste, baking soda paste, or a vinegar solution). Apply a generous amount directly to the rivets and the surrounding crevices. Allow the cleaning agent to sit for 5-10 minutes; this gives it time to penetrate and break down the grime.
3. Detailed Scrubbing Techniques
This is where the specialized tools come into play.
- For General Grime: Take a small stainless steel or nylon detail brush. With firm, circular motions, scrub vigorously around and between each rivet. Work from different angles to ensure the bristles reach into all nooks and crannies.
- For Stubborn Spots: If grime persists, grab a wooden toothpick or a plastic detail pick. Carefully scrape away the hardened deposits. The softness of wood or plastic minimizes the risk of scratching the pot. You may need to use several toothpicks as they wear down or break. A toothbrush can also be surprisingly effective for getting into tight spots, especially if the grime has softened sufficiently.
- Addressing Discoloration: For any darkening or white deposits that may appear from dishwasher use, a gentle nylon pad with a bit of detergent can often restore the shine, as suggested by cookware manufacturers like Le Creuset.
4. Rinse and Dry Thoroughly
Once you’re satisfied that all the grime has been removed, rinse the pot thoroughly under hot running water. Ensure all traces of the cleaning agent are washed away, as any residue can leave streaks or affect the pot’s finish. Finally, dry the pot immediately and completely with a clean cloth. This prevents water spots and, more importantly, stops new mineral deposits from forming and corrosion from developing around the newly cleaned rivets.
Preventative Measures and Maintenance
Consistent care is the best defense against stubborn grime buildup around pot handle rivets. Integrating a few simple habits into your routine can save you significant time and effort in the long run.
Immediate Cleaning After Use
The most effective preventative measure is to clean your pots and pans as soon as possible after each use. Don’t let food residue dry and harden on the rivets. A quick scrub with hot, soapy water while the pot is still warm (but cool enough to handle) can dislodge most particles before they become a permanent fixture.
Handwashing vs. Dishwasher
While many pots are “dishwasher safe,” frequent dishwasher use can sometimes lead to darkening or powdery white deposits around rivets, especially on stainless steel, as noted by Le Creuset. Dishwashers can also fail to thoroughly clean these tight areas, inadvertently baking on residual food. Handwashing, therefore, often offers more control and better targeted cleaning for riveted handles. If you do use a dishwasher, ensure you manually pre-clean the rivet areas.
Regular Deep Cleaning Schedule
Even with diligent daily cleaning, some buildup is inevitable. Establish a regular schedule for deep cleaning your pots’ rivets – perhaps once a month or every few weeks, depending on usage. This proactive approach prevents grime from becoming overly formidable and makes the cleaning process much quicker and easier each time. Incorporate a quick scrub with a detail brush and a mild abrasive like baking soda or Bar Keepers Friend during these sessions.
Common Mistakes to Avoid
Maintaining your cookware’s longevity and appearance means knowing not just what to do, but also what to avoid. Cleaning pot handle rivets effectively without causing damage requires careful consideration.
- Using Abrasive Cleaners or Tools on Non-Stainless Parts: While stainless steel can withstand vigorous scrubbing, many pots have non-stick coatings, decorative finishes, or even plastic/silicone handle components that can be easily damaged by harsh abrasives or wire brushes. Always check your pot’s material and apply the right tool and cleaner for that specific part. For instance, never use a wire brush on a non-stick surface.
- Ignoring Buildup for Too Long: The longer grime bakes onto your rivets, the harder it becomes to remove. Ignoring the problem will only lead to more time and effort needed later. Regular, even quick, cleaning is far more efficient than infrequent, intense deep cleaning.
- Improper Drying: Leaving water to air-dry on your pots, especially around rivets, can lead to unsightly water spots and mineral deposits. More critically, trapped moisture can contribute to corrosion, particularly on stainless steel. Always dry your pots thoroughly immediately after washing. This helps maintain their shine and prevents future cleaning headaches.
- Over-reliance on Harsh Chemicals: While strong cleaners might seem like a quick fix, they carry risks. Oven cleaners, for example, can be corrosive and may pit or discolor your cookware if not used correctly. Always start with the mildest cleaning solution and progress to stronger ones only if necessary, ensuring proper ventilation and protective gear.
“Many people overlook the rivets, but consistent, gentle cleaning with the right tools is what truly extends the life and beauty of your cookware.” – Admin of ReviewHT, Cookware Expert
Conclusion
Cleaning between pot handle rivets may seem like a minor detail in kitchen maintenance, but it’s a critical step towards achieving truly pristine and hygienic cookware. By understanding why grime accumulates, equipping yourself with the right tools and solutions, and adopting a proactive cleaning routine, you can confidently tackle this often-challenging task. Remember, preventing heavy buildup through immediate cleaning and regular maintenance is always easier than a major overhaul. Your efforts will not only keep your pots looking their best but also ensure they remain a safe and reliable part of your culinary adventures for years to come. What steps will you take today to give your pot rivets the attention they deserve?
Frequently Asked Questions
What causes black buildup on pot rivets?
Black buildup on pot rivets is typically caused by a combination of baked-on food particles, grease splatter, and mineral deposits from water. Over time, these residues harden and oxidize in the small crevices, making them difficult to remove with regular washing.
Can I put pots with rivets in the dishwasher?
While many riveted pots are labeled “dishwasher safe,” frequent dishwasher use can sometimes lead to the accumulation of hard water spots, dulling, or white deposits around the rivets. Dishwashers might not effectively clean these tight spaces, and handwashing often provides a more thorough and controlled cleaning for riveted areas.
Is Bar Keepers Friend safe for all pot materials?
Bar Keepers Friend is highly effective and generally safe for stainless steel and copper cookware. However, it is an abrasive cleaner, so it’s not recommended for non-stick surfaces, cast iron, or delicate finishes. Always test on an inconspicuous area first if you are unsure, and rinse thoroughly.
How often should I clean pot handle rivets?
For optimal maintenance, aim for a quick, targeted clean of the rivet areas after each use, especially if visible grime is present. A deeper clean with specialized tools and agents should be performed every few weeks or monthly, depending on how frequently you use the pot and how quickly buildup occurs.
What if the grime won’t come off?
If stubborn grime persists after using mild methods like baking soda or Bar Keepers Friend with detail brushes, consider carefully using a wooden toothpick or a plastic scraper to physically dislodge the hardened material. For extremely tough, carbonized residue, some individuals cautiously use a small amount of oven cleaner, but this requires extreme care, ventilation, and a test on an inconspicuous area first to avoid damaging the pot’s finish.